



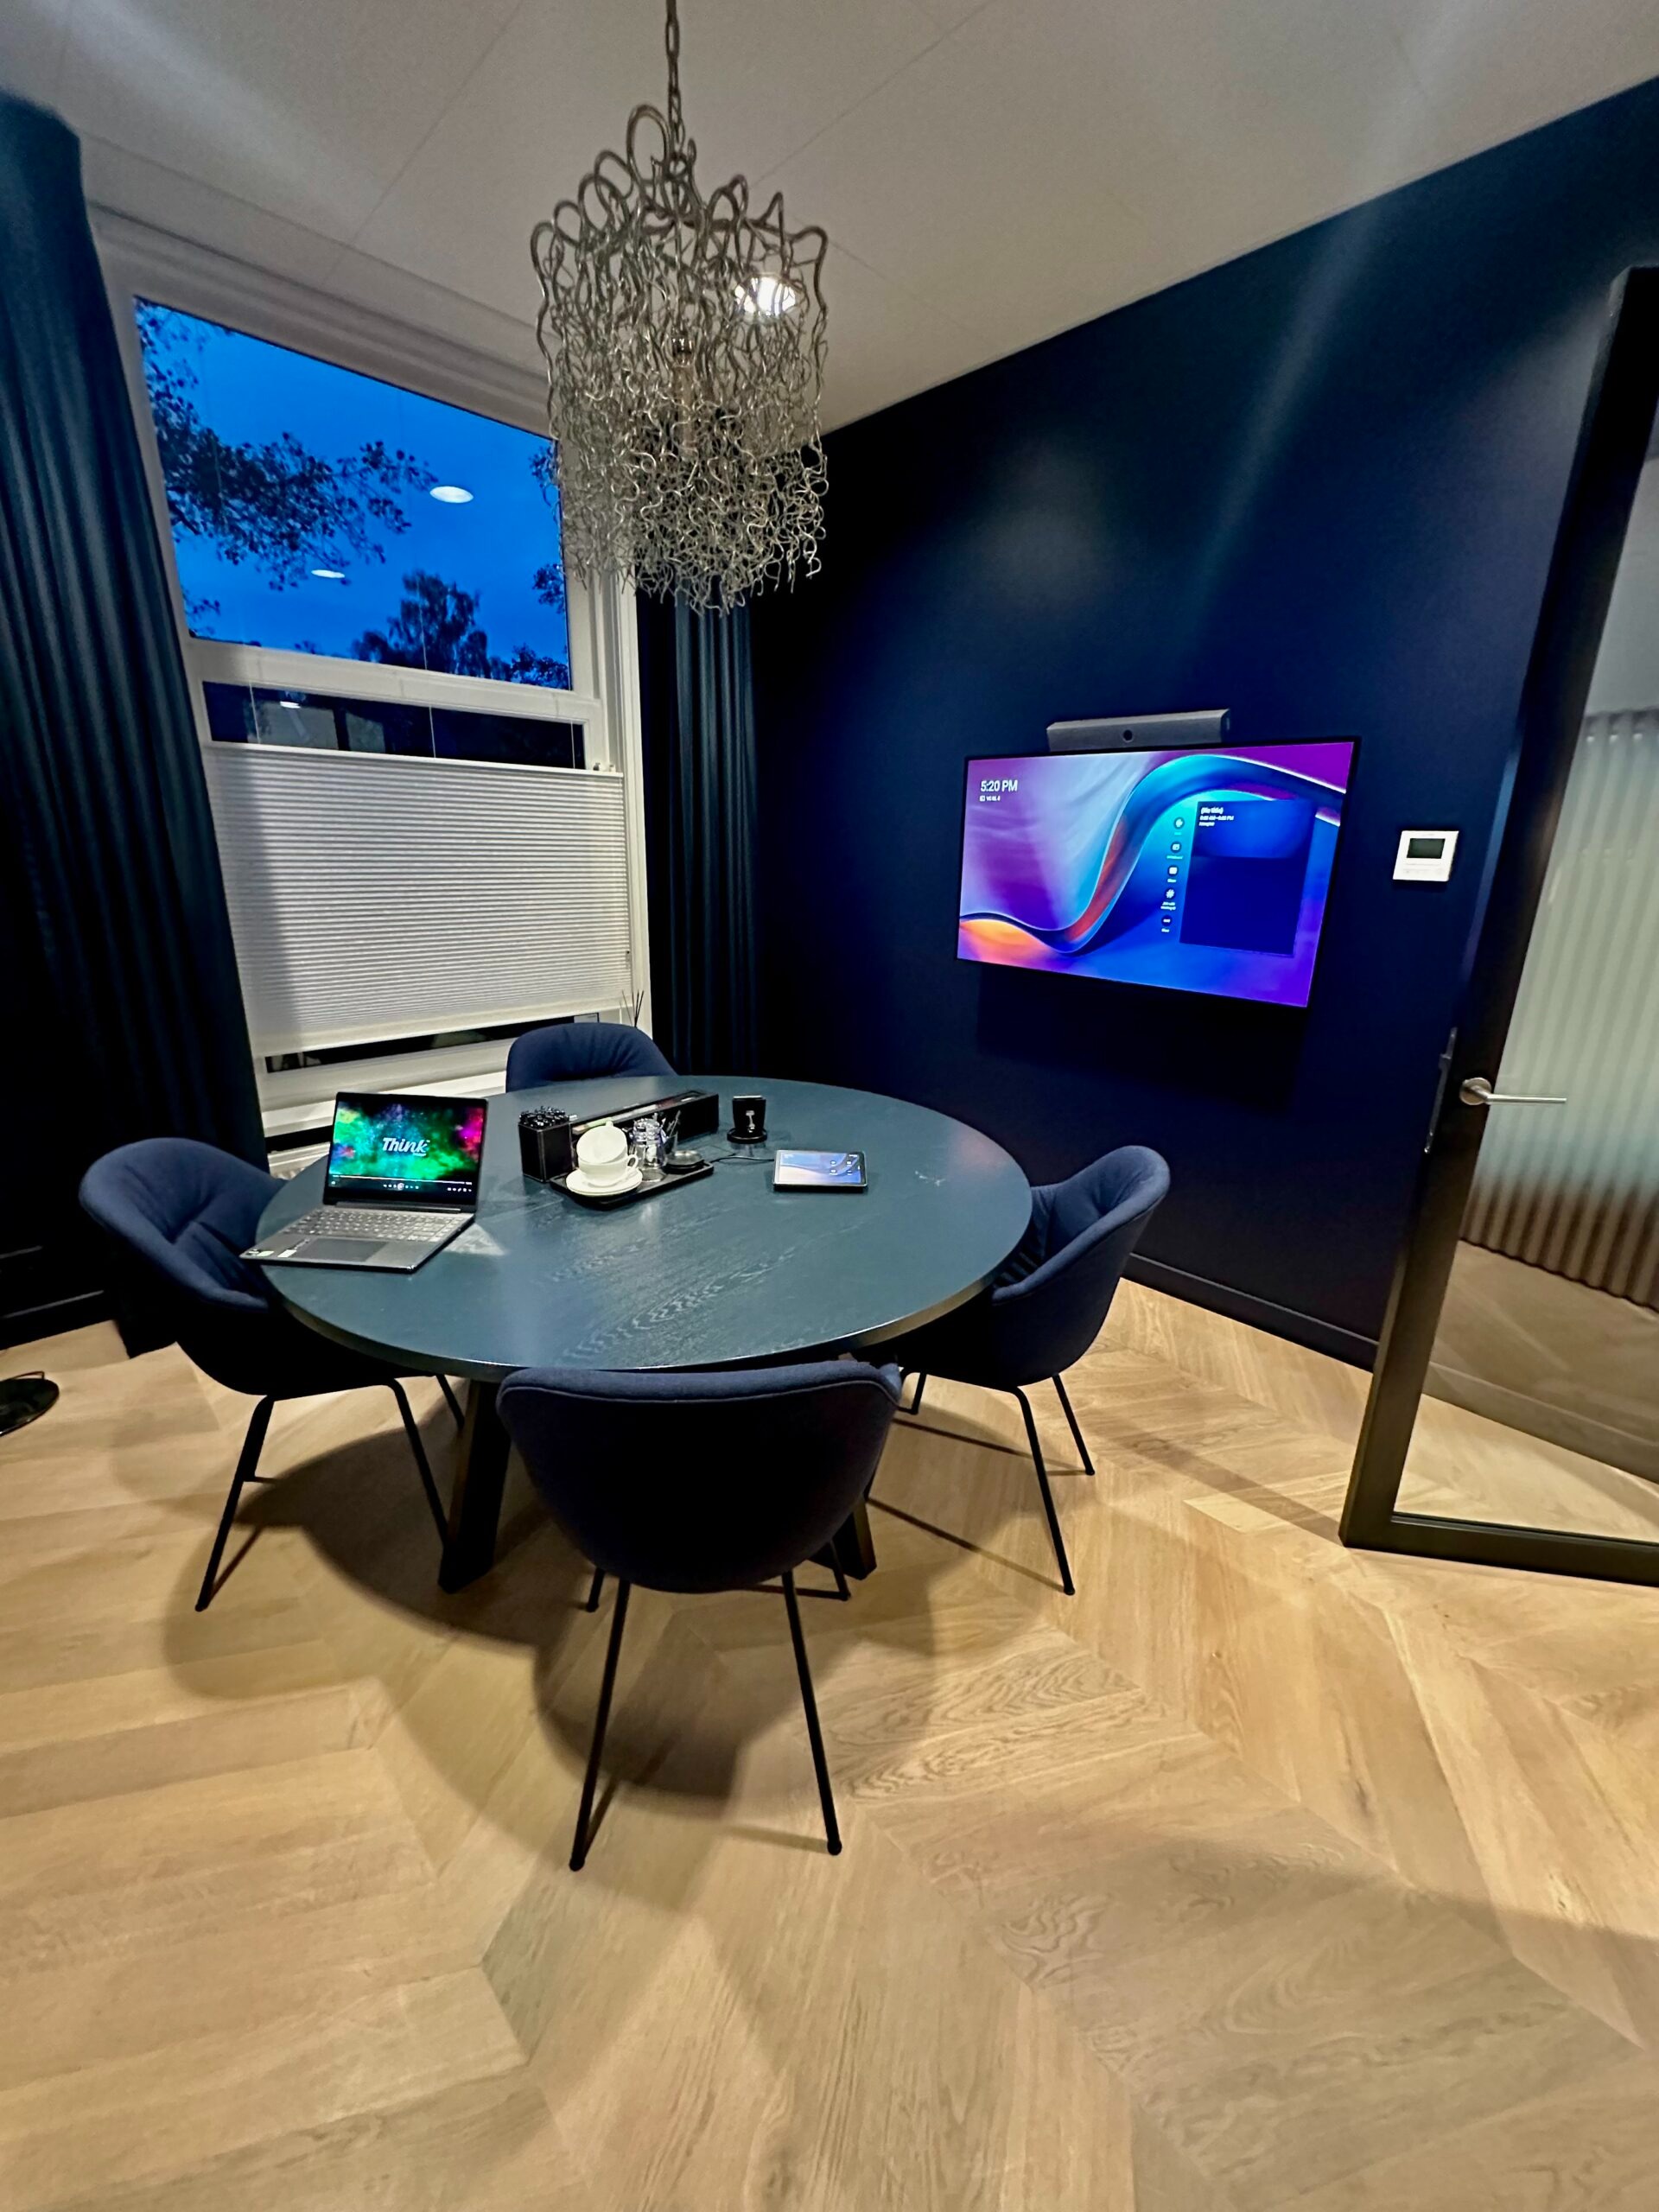
Installing and setting up a projector in an office environment can significantly enhance presentations, meetings, and collaborative work. To ensure optimal performance and a smooth installation process, we’ve put together a few tips to help you install a projector for the office.
Prepare for projector installation
Before you install a projector, make sure you’re prepared. Start by gathering the necessary tools and materials. Proper preparation will help streamline the process and avoid last-minute issues.
Choose the right projector
The first step in a successful projector installation is selecting the right projector for your office needs. Consider:
- Brightness: The projector’s brightness, measured in lumens, should match the lighting conditions of your office. For well-lit rooms, choose a projector with higher brightness for clear, vibrant images.
- Resolution: Select a resolution that meets your presentation requirements. Higher resolutions, such as Full HD (1080p) or 4K, provide sharper images.
- Throw distance: Consider the distance between the projector and the screen. Choose a projector with the appropriate throw ratio to achieve the desired image size without distortion.
- Connectivity: Ensure the projector has the necessary input ports, such as HDMI, VGA, and USB.
Select the ideal location
- Screen alignment: Position the projector so it is aligned with the centre of the screen, ensuring the image is projected evenly without keystone distortion.
- Distance from screen: Measure the distance between the projector and the screen to achieve the desired image size. Refer to the projector’s manual for the recommended throw distance.
- Mounting options: Decide whether to ceiling-mount, wall-mount, or place the projector on a table. Ceiling or wall mounting provides a cleaner setup and frees up workspace.
Install the screen
A high-quality projection screen enhances the viewing experience by providing a smooth, reflective surface.
- Screen size: Choose a screen size appropriate for the room and viewing distance. Larger screens suit larger rooms and audiences.
- Screen type: Select a screen type that suits your needs, such as fixed-frame, motorised, or pull-down. Motorised screens offer remote-control convenience.
- Screen placement: Install the screen at a height that ensures comfortable viewing for all participants, securely mounted and free from obstructions.
Set up the projector
Once the projector and screen are in place, follow these steps:
- Connect devices: Connect your laptop, computer, or other devices to the projector using the appropriate cables, ensuring the connections are secure.
- Power on: Turn on the projector and the connected devices, using the remote or menu buttons to navigate the settings.
- Adjust image: Use the projector’s keystone correction, zoom, and focus settings to adjust the image size and clarity.
- Calibrate colours: Access the colour settings to calibrate for optimal accuracy, adjusting brightness, contrast, and colour temperature to suit the room’s lighting.
After installing an office projector
Test and fine-tune
Before the first official use, conduct a test run. Run a test presentation to check image quality, alignment, and audio performance. Test all connected devices to ensure they function properly. Fine-tune the settings to achieve the best possible image quality.
Optimise audio
- External speakers: If the projector’s built-in speakers are insufficient, connect external speakers or a soundbar and place them for even sound distribution.
- Microphones: Use microphones to amplify the presenter’s voice. Wireless lapel or headset microphones offer mobility.
- Audio calibration: Adjust the audio settings on the projector and external speakers, and test the audio before the presentation.
Provide training
- User manual: Distribute the projector’s user manual to all relevant staff, highlighting key features.
- Training sessions: Demonstrate how to set up and use the projector, covering basic troubleshooting.
- Quick reference guides: Create step-by-step guides for common tasks, such as connecting devices and adjusting settings.
Final thoughts
Installing and setting up a projector in an office environment requires careful planning and attention to detail. By choosing the right projector, selecting the ideal location, installing a high-quality screen, optimising audio, and providing training, you can ensure a successful and effective installation.
Want to avoid the DIY route? Contact THINK for professional office projector installation.